2.28.2013

Winter Pinterest Challenge: Big Boy Room Box Spring


Hi friends!

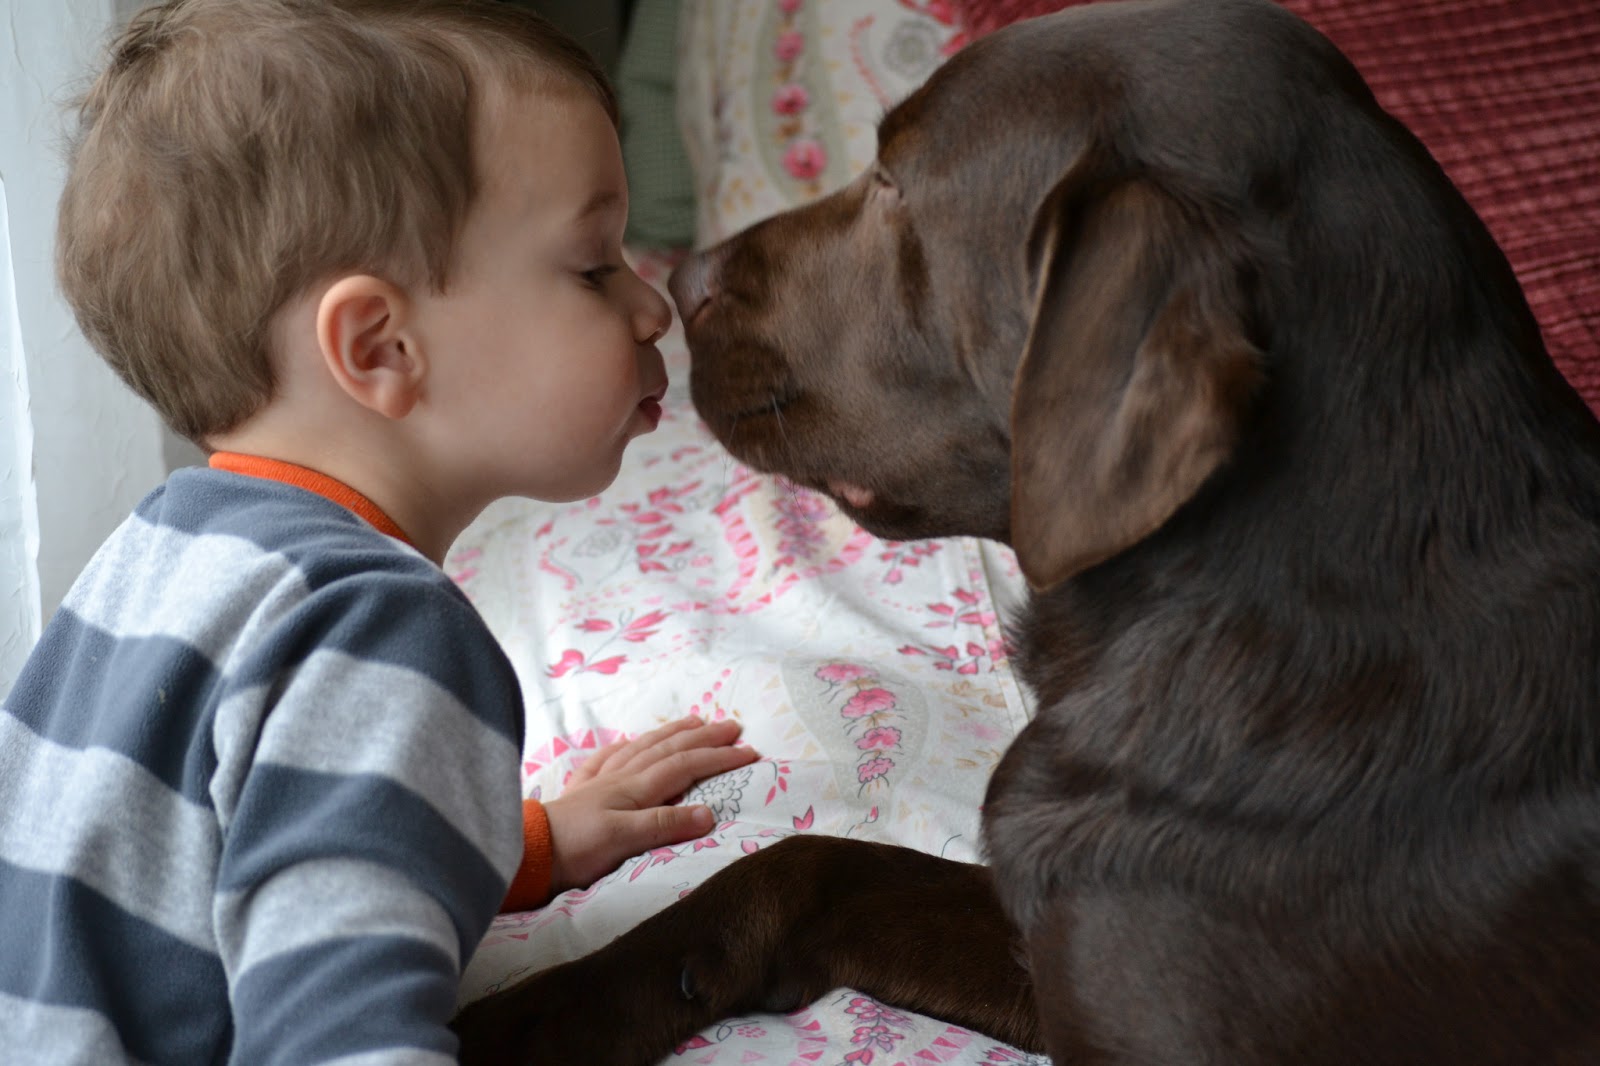
As part of the Winter Pinterest Challenge, I decided to tackle a project for A's big boy room. While he's not technically in his room yet, he is officially in his bed boy bed (as of last week).

If you are new here, our little guy learned how to escape his crib at 19 months. This transition to a big boy bed has been slow, as A is affectionately known as the world's worst sleeper. After a short stint in the dog bed, he's finally sleeping through the night. And after a week in his big boy bed? He is still sleeping, which is amazing! We're thrilled that he loves it. After a year and a half of really bad sleep, we're finally in a good place.

Moving on...

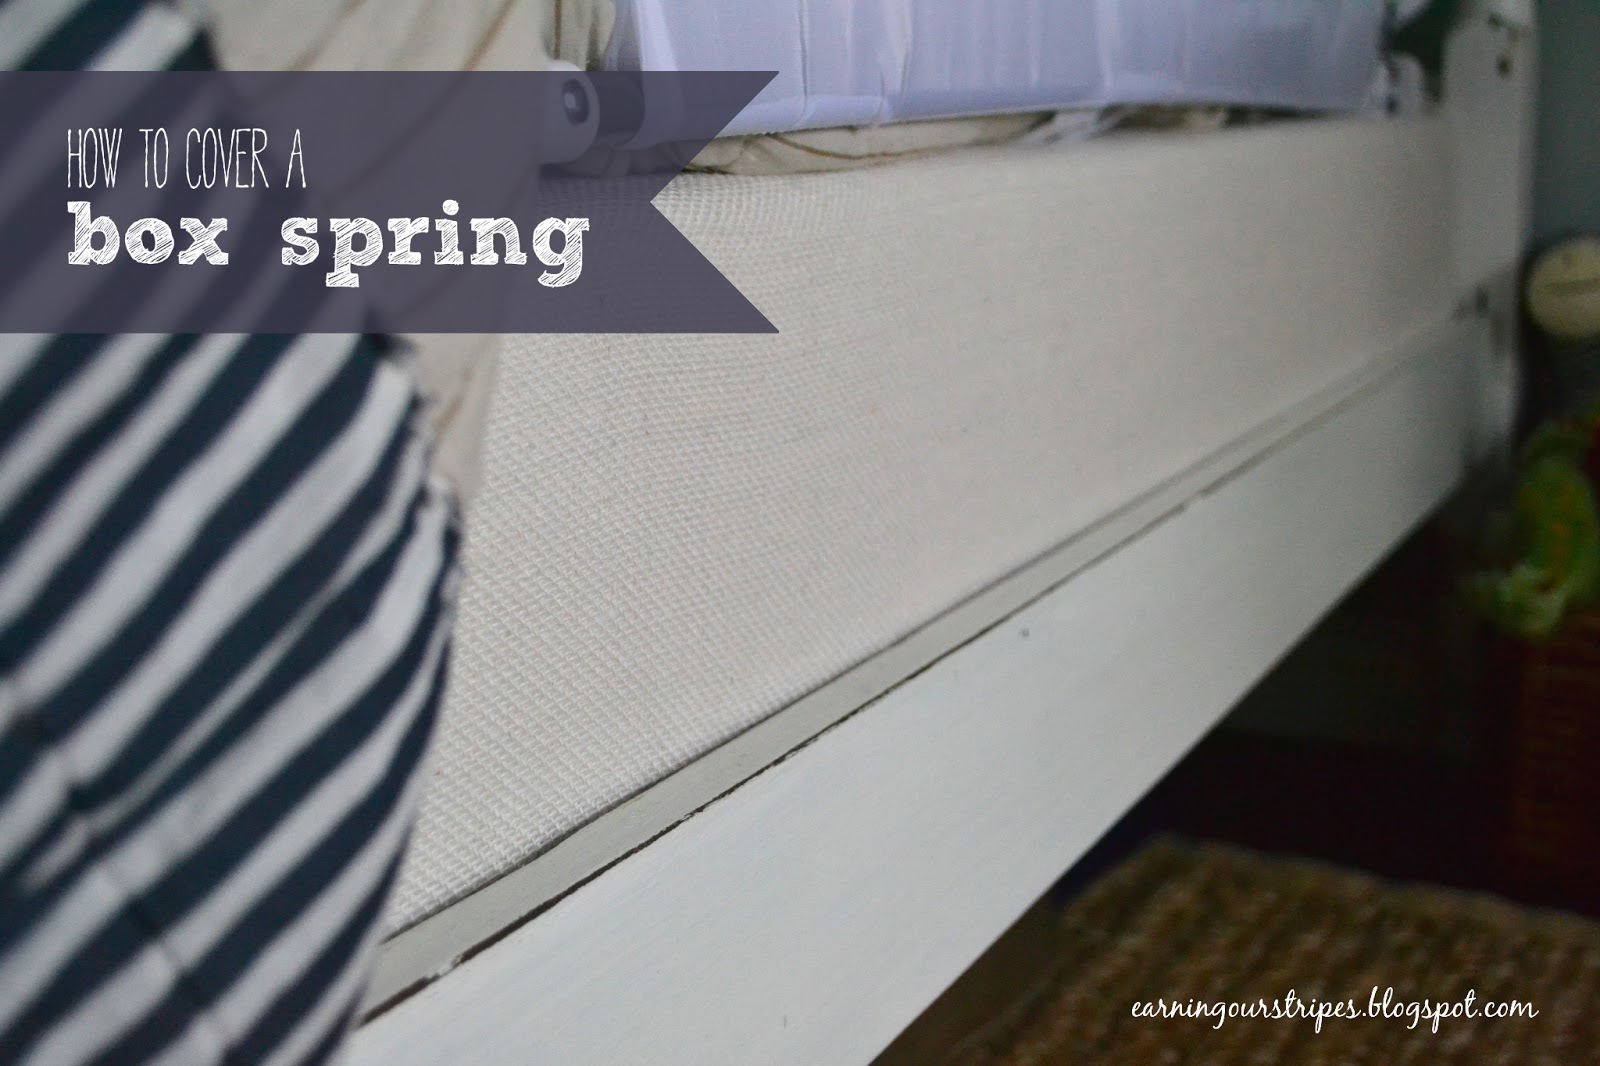
I wanted to share how I covered A's new box spring in burlap, rather than using a bed skirt. My inspiration? This pin, on Pinterest. I had to make a few tweaks as I went along, but in the end, I'm so happy with how this turned out.

Let's start from the beginning, shall we?

After our big date day-trip to Ikea, we were the proud owners of a memory foam twin mattress, and a plain white box spring.


Once we realized what a pain in the rear-end the protective railings would be install, I decided that the box spring had to be covered now. I knew that I didn't want a bed skirt, and there was no way that I was taking those railings back off to cover the box spring... well, let me rephrase that. There was no way I was getting C to do anything more than once, especially taking the railings off after he spent 2 hours trying to get them on correctly. 

I sweetly asked everyone to stop working, while I made a quick run to the fabric store.

My mother-in-law joined me for a trip to Joann's, and after some quick math, we realized that the only way to have one seam on the boxspring was to wrap it like a present. $25 and 8 yards of fabric later, my father-in-law helped me start the project.

Tools needed:
fabric (you do NOT need 8 yards)
staple gun (& staples)
scissors 
hammer

I'll let the rest of the pictures explain how this should work, but in essence, you start "wrapping" fabric around the box spring only covering the diameter. We started stapling to the bottom, so that when the bottom was done, we could lay the boxspring back down on the bed and staple the top. I know, it's confusing... maybe the pictures will help!
stapling along the bottom, and wrapping the corners like you wrap the corners of a present
the one and only visible seam - just the two ends of fabric folded over, and stapled on the "top" and "bottom"
once you've stapled the entire bottom, you'll have all the extra fabric on top
securing the top - we also cut off a lot of the excess fabric before stapling, so that it would not impede the Angelcare monitor

A few things to note:
  • It helps to hammer in the staples as you go, so that they sink into the boxspring and are less of "hazard" for little fingers
  • If you are using burlap for this project, it will get everywhere. Be prepared to vacuum little pieces of burlap up for at least a week.
  • You can avoid buying so much fabric if you are OK with two seams, or, are interested in sewing smaller strips together (like the tutorial suggests). I didn't have that much time to figure it out - we started this project at 4:00 and A's bedtime is 8:30!

Here's the finished product. In hindsight, I wish I had gone for a darker burlap. But knowing me, I'll be redoing this in a year anyways, so for $25 and 2 hours of time, I consider it a success.

Oh, and I considered taking down the railings so I could have a pretty picture of A's big boy bed to share in blog-land, but honestly, this is a big boy bed for a 22 month old, so the railings are keeping it (very) real.

yes, the cover to the thermostat is off... this is how I found it after his nap today. A cover for it has been ordered. Thank you, wild child.
the new view from the hallway

If you are curious, you can see what the room looked like before here and here.

Linking up for the Pinterest Challenge with these awesome bloggers!
 
Young House Love
Bower Power Blog
Decor and the Dog
The Remodeled Life


2.26.2013

Mommy's Day Out {Antiquing}

In my weekend recap last week, I mentioned that President's Day was also mommy-day...
My in-laws were visiting, and I was able to sneak away for some much needed quiet time. I contemplated going to get a mani/pedi, but decided antiquing would be much more fun.


All of these stores were new to me, and I loved exploring Lafayette for the first time. Here are some of the things I found (no, not all of them came home with me... I wish!)


These dressers were $149 each. I have to say - I really regret not getting one of these for our living room. Maybe I need to make a trip back.


This trunk was only $99, and was in pristine condition. Would be a great bedside table in a guest room, or even a little boys room!


This baker's rack wasn't for sale, but it was gorgeous. I really wish we had a giant storage shed, because it is pieces like these that I would love to save for our next home.


The next few pictures were from high-end salvage shops (aka, out of my budget), but I still thought these pieces were gorgeous.


This boat? Amazing. And only $2,000. What a steal! = )


I liked both of these lamps, but was too indecisive to pick one for our bedroom.
(I'm really regretting not getting the first one)


Loved this bench. So unique. How amazing would it look in an entryway?


Loved all the little collections this store had to offer...


And last but not least, an antique catcher's mask... this may be finding a home in A's big boy room!


Hope you're having a great week!

2.25.2013

Happy Birthday

Happy happy birthday, to my handsome husband.


 I certainly don't tell you often enough, but I'm blessed beyond words to be your wife. 


 You are eternally selfless and endlessly loving, and I love you more with each passing day.


 Seeing you as a father, fills my heart with such joy... 
Thinking about how much you love our boys makes me feel complete.


 You are truly the love of my life, and I look forward to growing old with you.


Happy birthday, C.

XO


2.21.2013

Weekend Recap in Pictures

A weekend recap ... on Thursday!
Better late than never, right?

Friday night & Saturday morning started with some unexpected snow. A and Otto loved watching the snow fall, and I loved watching them cuddle on the couch.


A desperately needed a haircut... I even told him he could have a lollipop (the only way he doesn't cry!), and he seemed pretty excited to go. But once she started cutting, it was dirty looks all around.


After we got home, and did a quick cleaning to prepare for my in-laws to arrive, A buried himself behind the couch cushions to play with his cars.


Saturday was also date-night. First stop, IKEA! (That's what everyone does on date night, right?)
(I'll share our loot next week, but this is what the car looked like when we left).


Ok, now for real date night. Here's my best guy & me at the Kimberly Hotel.


And here was our view...


What I don't have a picture of, is us with our dear friends that we met up with. We had SOMUCHFUN (like we do every time we see them), and I can't believe we didn't take a picture. Boo.

Sunday morning marked the beginning of project big-boy-bed. It was not easy (I'll share next week), but this happened:


Those are not toy drills. They're the real deal... and he knows exactly what he's doing. Scary!

Monday was me-time, which I have a whole post devoted to. Mommy went antiquing, and did some top-secret work on C's birthday gift. So excited to give it to him!

Hope you all had a wonderful weekend, too! And hey, its already Thursday!


2.19.2013

Sharing the Love

I know... Valentine's Day was last week. But I can still share the love!

One of my 2013 New Year’s resolutions was to be more green. We try to be as eco-conscious as possible, and have made big changes in our house the last few years:  greener cleaning products, composting and eating organic whenever we can. I’ll write more about this (one day), but this even goes for Otto now, who is on an all-natural raw meat diet as of a few weeks ago.

I’m sure I’ve mentioned this before, but one of my guilty pleasures is to pick out new nail polish. I have a little bit of a nail-polish hording problem. Thankfully when we renovated our bathroom last year, I had to do some major purging. But I still have at least 6 or 7 colors at the ready. While looking for a new color last week, it occurred to me that I’ve never sought to “green” my manicure routine... and with all of the new, toxin-free formulas available, there was really no reason not to try them.

Zoya offers over 300 shades, and all of their formulas are all formaldehyde, toulane, DBP and camphor-free.

As part of their “Share the Love” program, it is super easy to get free nail polish. By clicking on the below (which is my personal share-the-love link), and creating an account, a coupon for a free bottle of nail polish will automatically be added to your account (FYI, this is an $8 savings). You will only pay for shipping, or, if you buy 2 bottles of nail polish on top of your free one, you will get free shipping on your order!


In the spirit of full disclosure, I will get  “points” when you create an account & place an order. While I’m sure the points will eventually amount to something (I’m not sure what, to be honest), that is not why I’m sharing the link. I really just thought it would be fun for all of you to get a free bottle of nail polish!

I just placed my first order, so I can’t comment on the product itself, but since Sherry (from YHL) has been using Zoya since 2008, I’m sure it is great. After-all, I consider Sherry & John the ultimate product knowledge gurus on pretty much everything.

In case you are curious, here’s what I ordered!


Morgan

Jane


Happy Shopping!

I was in no way compensated for saying anything about Zoya products or their “Share the Love” program. My order was placed by & paid by ME, and I received absolutely no discount from Zoya. 


2.14.2013

Falling In Love is Like Owning A Dog

First of all, it's a big responsibility,
especially in a city like
New York.
So think long and hard before deciding on love


On the other hand, love gives you a sense of security:
when you're walking down the street late at night
and you have a leash on love
ain't no one going to mess with you.
Because crooks and muggers think love is unpredictable.
Who knows what love could do in its own defense? 


On cold winter nights, love is warm.
It lies between you and lives and breathes
and makes funny noises.  


Love wakes you up all hours of the night with its needs.
It needs to be fed so it will grow and stay healthy.

Love doesn't like being left alone for long.
But come home and love is always happy to see you. 


It may break a few things accidentally in its passion for life,
but you can never be mad at love for long.

Is love good all the time? No! No!
Love can be bad. Bad, love, bad! Very bad love.

Love makes messes.
Love leaves you little surprises here and there.
Love needs lots of cleaning up after.
Sometimes you just want to get love fixed.
Sometimes you want to roll up a piece of newspaper
and swat love on the nose,
not so much to cause pain,
just to let love know Don't you ever do that again! 


Sometimes love just wants to go for a nice long walk.
Because love loves exercise.
It runs you around the block and leaves you panting.
It pulls you in several different directions at once,
or winds around and around you
until you're all wound up and can't move. 


But love makes you meet people wherever you go.
People who have nothing in common but love
stop and talk to each other on the street.


Throw things away and love will bring them back,
again, and again, and again. 


But most of all, love needs love, lots of it.
And in return, love loves you and never stops. 


{Taylor Mali}


May all your days be filled with love.

Happy Valentine's Day!


2.13.2013

Master Bedroom Updates

I had really hoped to have everything done by the time I was ready to post these pictures...
But life happens and the bedroom frames are still empty or have pictures of kids that I don't know.

And even though it's not "done", I'm still sharing these pictures. Because I'm proud that I shopped my house and didn't spend a dime to refresh our bedroom.

Here is our bedroom looked this fall. Just so you know, I thought it was done.


And then our cable company decided we couldn't have cable in our bedroom without a cable box. And that one little cable box changed the whole layout...

(And just in case you were wondering, no, it was not an option to not have TV in our bedroom)

We had to move the dresser to house the cablebox. Which means we had an empty wall.


And now our floor lamp didn't have a place to live, and the frames on either side of the window seemed too big for the space. Oh, and I have to figure out how to hide that cord.


Here's the first part of the update - new wall frames.


I love that the layouts are a little different from each other. One of my unofficial new year's resolutions was to challenge myself when it comes to decorating. What that really means (for me)... not everything has to be symmetrical. That's a hard concept for this virgo. 

Don't worry: we plan on filling the holes in the wall & removing the price tickets on the frames, too.


This is the mirror from our dining room. It may be a little too low. I blame this on pinterest, and the suggestion I had read about hanging all of your artwork & mirrors lower than normal to make a space feel more cozy. C has to bend down to see himself in the mirror... so maybe it's a little too low.

Pictures are ordered for the frames, so maybe I'll have an update on those soon!